
first step is to trace all of the pieces you are possibly interested in hanging onto a sturdy paper. i used a heavy brown drop cloth paper and some paper grocery sacks. i'm sure butcher paper would work well too. you just need something sturdy and big enough to trace your items on. i had to tape multiple pieces together for some of my bigger items.
for me, it was necessary to start with as blank a canvas as possible. i basically removed everything that would be in my line of sight except furniture and my tv, because i wasn't willing to move it from that position, so i needed to see how any wall items would fit around it. reducing the visual clutter seemed like a good idea for helping me to really judge best what would work. also, my current thinking is that decorating is sort of like a pyramid: base is furniture, next comes the walls and draperies, etc. and last is decorative items. they are the smallest and easiest to control and manipulate so i wanted them for last.
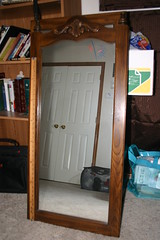
here are my bedroom walls, blank and ready to experiment with:


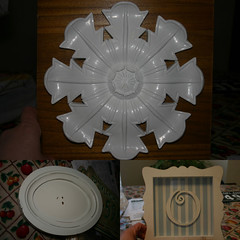
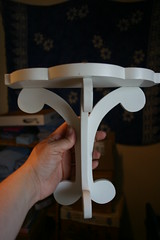
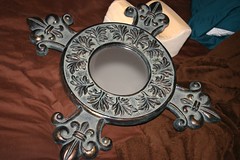
here are my cutouts ready to go:

now, if you are going to be going anywhere near your ceiling fan while you do this, like i was, be sure you turn it off! getting hit by it hurts! (and lest you think i am a fantastic housekeeper, i had just dusted that fan for the first time in like 18 months before this picture was taken. if you didn't notice, well, i guess i wasted my time! ;) )

be sure to mark where your nail holes need to go on your cutouts! this is one of the best parts of the idea to me!

next, using painter's tape, masking tape, or any other kind of tape that won't leave a residue or mess with your walls, start arranging your templates. keep playing around, stepping back, repositioning until you get something you like. i did one wall at a time, and then tried to consider the entire room as a whole. not sure i did the greatest job, but i'm up for suggestions!! i'm so afraid of doing too much!
here are my test positions:


i'll admit, i changed things much more than i thought i would during this process. it was so nice to have a visual representation of size, spacing, weight, etc. also, i want to paint a number of these items, and by knowing how they will be arranged, i can think more strategically about what colors to paint them.
another nice thing is that you can live with your arrangements "on paper" for a while and see if any new ideas come to you, or if you realize any issues that you hadn't initially thought of. i'm currently in the "living with it for a while" stage, and just looking at these pictures i realized that i may want to change one of the walls around!
hope this one helps you. let me know if you use it, and send pictures! :)


No comments:
Post a Comment